介绍
Leaflet是一个用于创建地图的 JavaScript 库。它配备了许多不错的功能,并且非常适合移动设备使用。
注意:这是关于使用 Angular 和 Leaflet 的 4 部分系列的第 1 部分。
您可以使用此库来显示支持通过单击和拖动进行缩放和平移的地图。
在本教程中,您将学习如何将 Leaflet 集成到 Angular 应用程序中。
先决条件
要完成本教程,您需要:
- Node.js 安装在本地,您可以按照如何安装 Node.js 和创建本地开发环境来完成。
- 熟悉设置 Angular 项目和使用 Angular 组件可能会有所帮助。
本教程已通过 Node v15.12.0、npmv7.7.4、angularv11.2.7 和leafletv1.7.1 验证。
步骤 1 — 设置项目
您可以使用它@angular/cli来创建一个新的 Angular 项目。
在终端窗口中,使用以下命令:
- npx @angular/cli new angular-leaflet-example --style=css --routing=false --skip-tests
这将配置一个新的 Angular 项目,其样式设置为“CSS”(与“Sass”、Less 或“Stylus”相反),没有路由,并跳过测试。
导航到新创建的项目目录:
- cd angular-leaflet-example
从您的项目文件夹中,运行以下命令进行安装leaflet:
- npm install leaflet@1.7.1
设置好这个脚手架后,您就可以开始处理地图组件了。
第 2 步 – 创建地图组件
现在,您可以创建自定义地图组件:
- npx @angular/cli generate component map --skip-tests
这个命令将产生四个新文件:map.component.css,map.component.html,和map.component.ts。它还将更新app.module.ts文件以使用此新组件。
接下来,打开map.component.ts并用以下代码行替换内容:
<div class="map-container">
  <div class="map-frame">
    <div id="map"></div>
  </div>
</div>
然后,打开map.component.css并用以下代码行替换内容:
.map-container {
  position: absolute;
  top: 0;
  left: 0;
  right: 0;
  bottom: 0;
  margin: 30px;
}

.map-frame {
  border: 2px solid black;
  height: 100%;
}

#map {
  height: 100%;
}
这种标记和样式的组合将创建一个最外层div的类.map-container,它将定位地图以占据屏幕上的可用空间。
它还将创建一个divid 为#map. 在这里使用 id 而不是类很重要,因为 Leaflet 期望id将 传递给它以放置地图。
接下来,打开map.component.ts并导入 Leaflet 包:
import { Component, OnInit } from '@angular/core';
import * as L from 'leaflet';

@Component({
  selector: 'app-map',
  templateUrl: './map.component.html',
  styleUrls: ['./map.component.css']
})
export class MapComponent implements OnInit {
  constructor() { }

  ngOnInit(): void { }
}
地图div需要存在于 DOM 中,然后您才能引用它来创建地图。这在AfterViewInit 生命周期钩子期间是可能的。扩展您的组件以实现AfterViewInit并将该ngAfterViewInit()功能添加到您的组件中:
import { Component, AfterViewInit } from '@angular/core';
import * as L from 'leaflet';

@Component({
  selector: 'app-map',
  templateUrl: './map.component.html',
  styleUrls: ['./map.component.css']
})
export class MapComponent implements AfterViewInit {
  constructor() { }

  ngAfterViewInit(): void { }
}
让我们创建一个单独的私有函数initMap()来隔离所有的地图初始化。
在这个函数中,您需要创建一个新的Leaflet 地图对象。API 也允许您在其中定义选项。
在本教程中,您将设置地图的中心和起始缩放值。
该中心将是位于 39.828175°N 98.579500°W的毗邻美国的地理中心。
Leaflet 使用的十进制坐标系假设本初子午线以西的任何东西都是负数,因此实际的中心坐标将为[ 39.8282, -98.5795 ]。
并且缩放级别将设置为 3。
为地图对象声明一个变量,创建地图,并从ngAfterViewinit以下位置调用它:
import { Component, AfterViewInit } from '@angular/core';
import * as L from 'leaflet';

@Component({
  selector: 'app-map',
  templateUrl: './map.component.html',
  styleUrls: ['./map.component.css']
})
export class MapComponent implements AfterViewInit {
  private map;

  private initMap(): void {
    this.map = L.map('map', {
      center: [ 39.8282, -98.5795 ],
      zoom: 3
    });
  }

  constructor() { }

  ngAfterViewInit(): void {
    this.initMap();
  }
}
接下来,打开app.component.html,并用新组件替换生成的内容:
<app-map></app-map>
并运行应用程序:
- npm start
然后,在 Web 浏览器 ( localhost:4200) 中打开该应用程序:
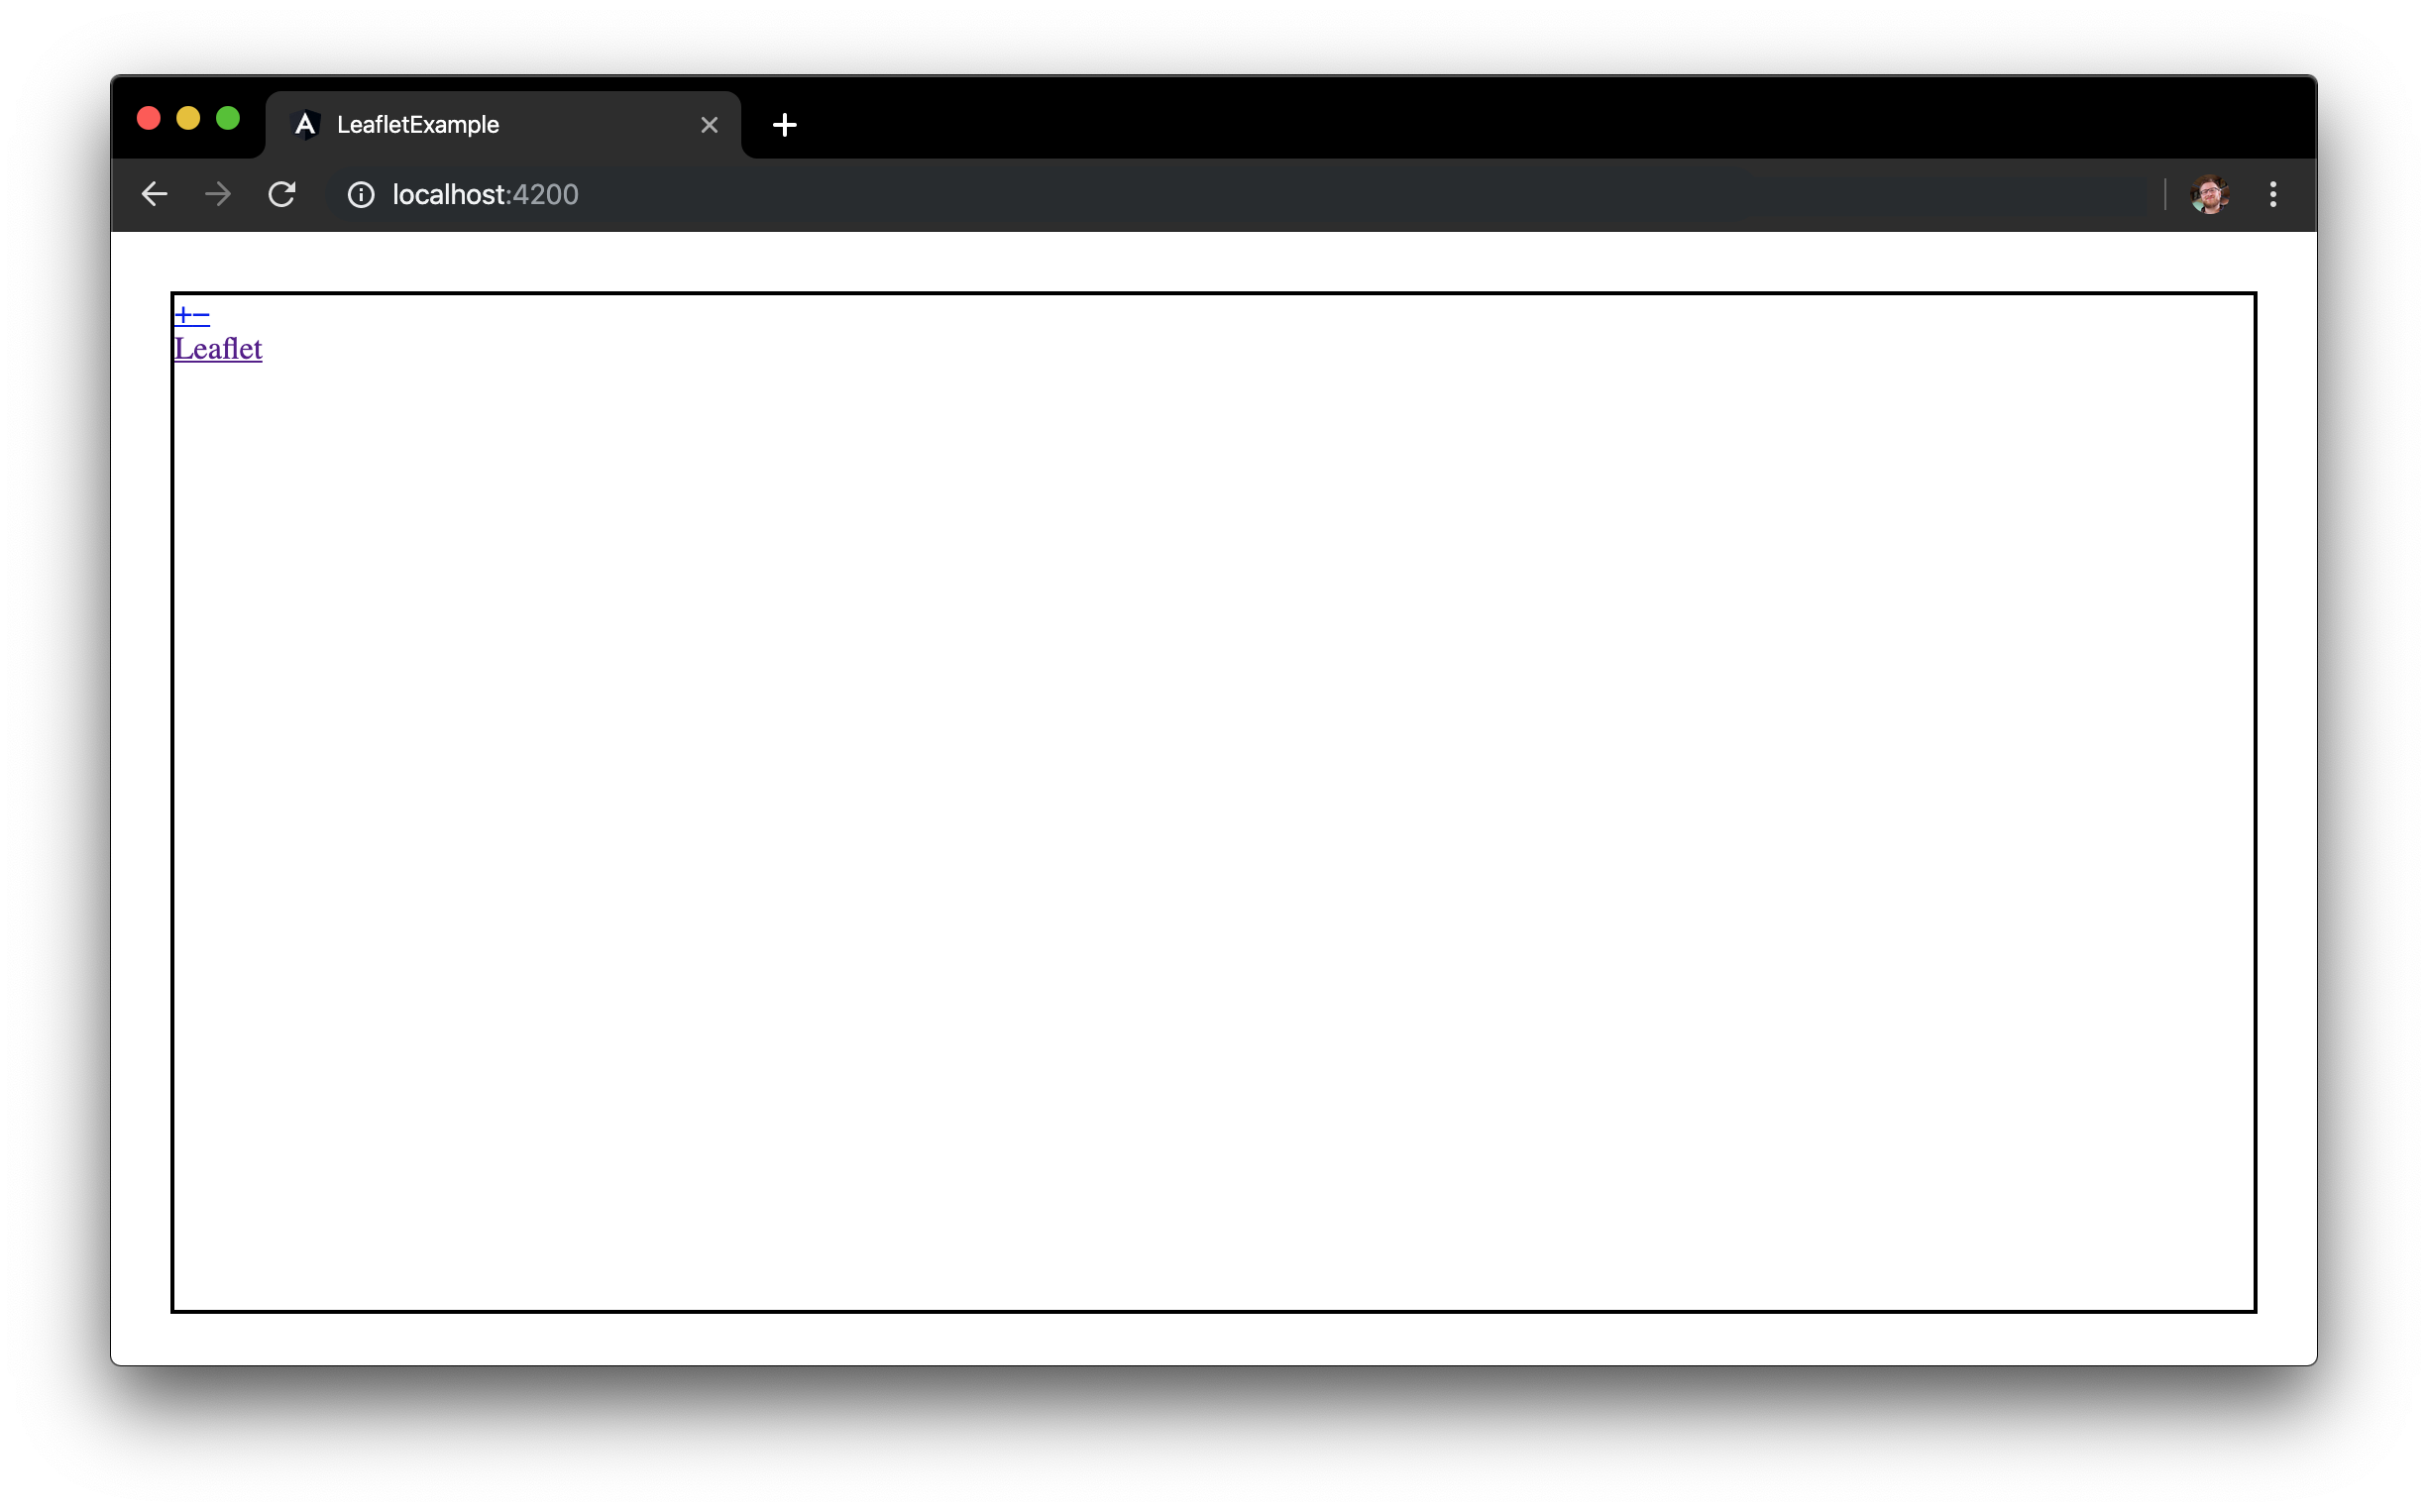
您的应用程序将显示一个空的 div 并且缺少地图。
使用 Leaflet,您可以将数据可视化为Layers。您在绘制地图时想到的数据类型称为“图块”。您需要创建一个新的切片图层并将其添加到地图中。
要创建新的切片图层,您必须首先传递切片服务器 URL。
有许多切片服务器提供商,但本教程将使用OpenStreetMap切片服务器。
与地图对象类似,图块层也接受可自定义的选项。
在本教程中,您将设置最大和最小缩放级别。您还将提供地图数据的归属信息。
重新访问map.component.ts文件并将切片图层添加到地图:
import { Component, AfterViewInit } from '@angular/core';
import * as L from 'leaflet';
@Component({
selector: 'app-map',
templateUrl: './map.component.html',
styleUrls: ['./map.component.css']
})
export class MapComponent implements AfterViewInit {
private map;
private initMap(): void {
this.map = L.map('map', {
center: [ 39.8282, -98.5795 ],
zoom: 3
});
const tiles = L.tileLayer('https://{s}.tile.openstreetmap.org/{z}/{x}/{y}.png', {
maxZoom: 18,
minZoom: 3,
attribution: '© <a href="http://www.openstreetmap.org/copyright">OpenStreetMap</a>'
});
tiles.addTo(this.map);
}
constructor() { }
ngAfterViewInit(): void {
this.initMap();
}
}
此代码将最大缩放设置为 18,最小缩放为 3,以及图块的属性文本。
然后,在 Web 浏览器 ( localhost:4200) 中打开该应用程序:
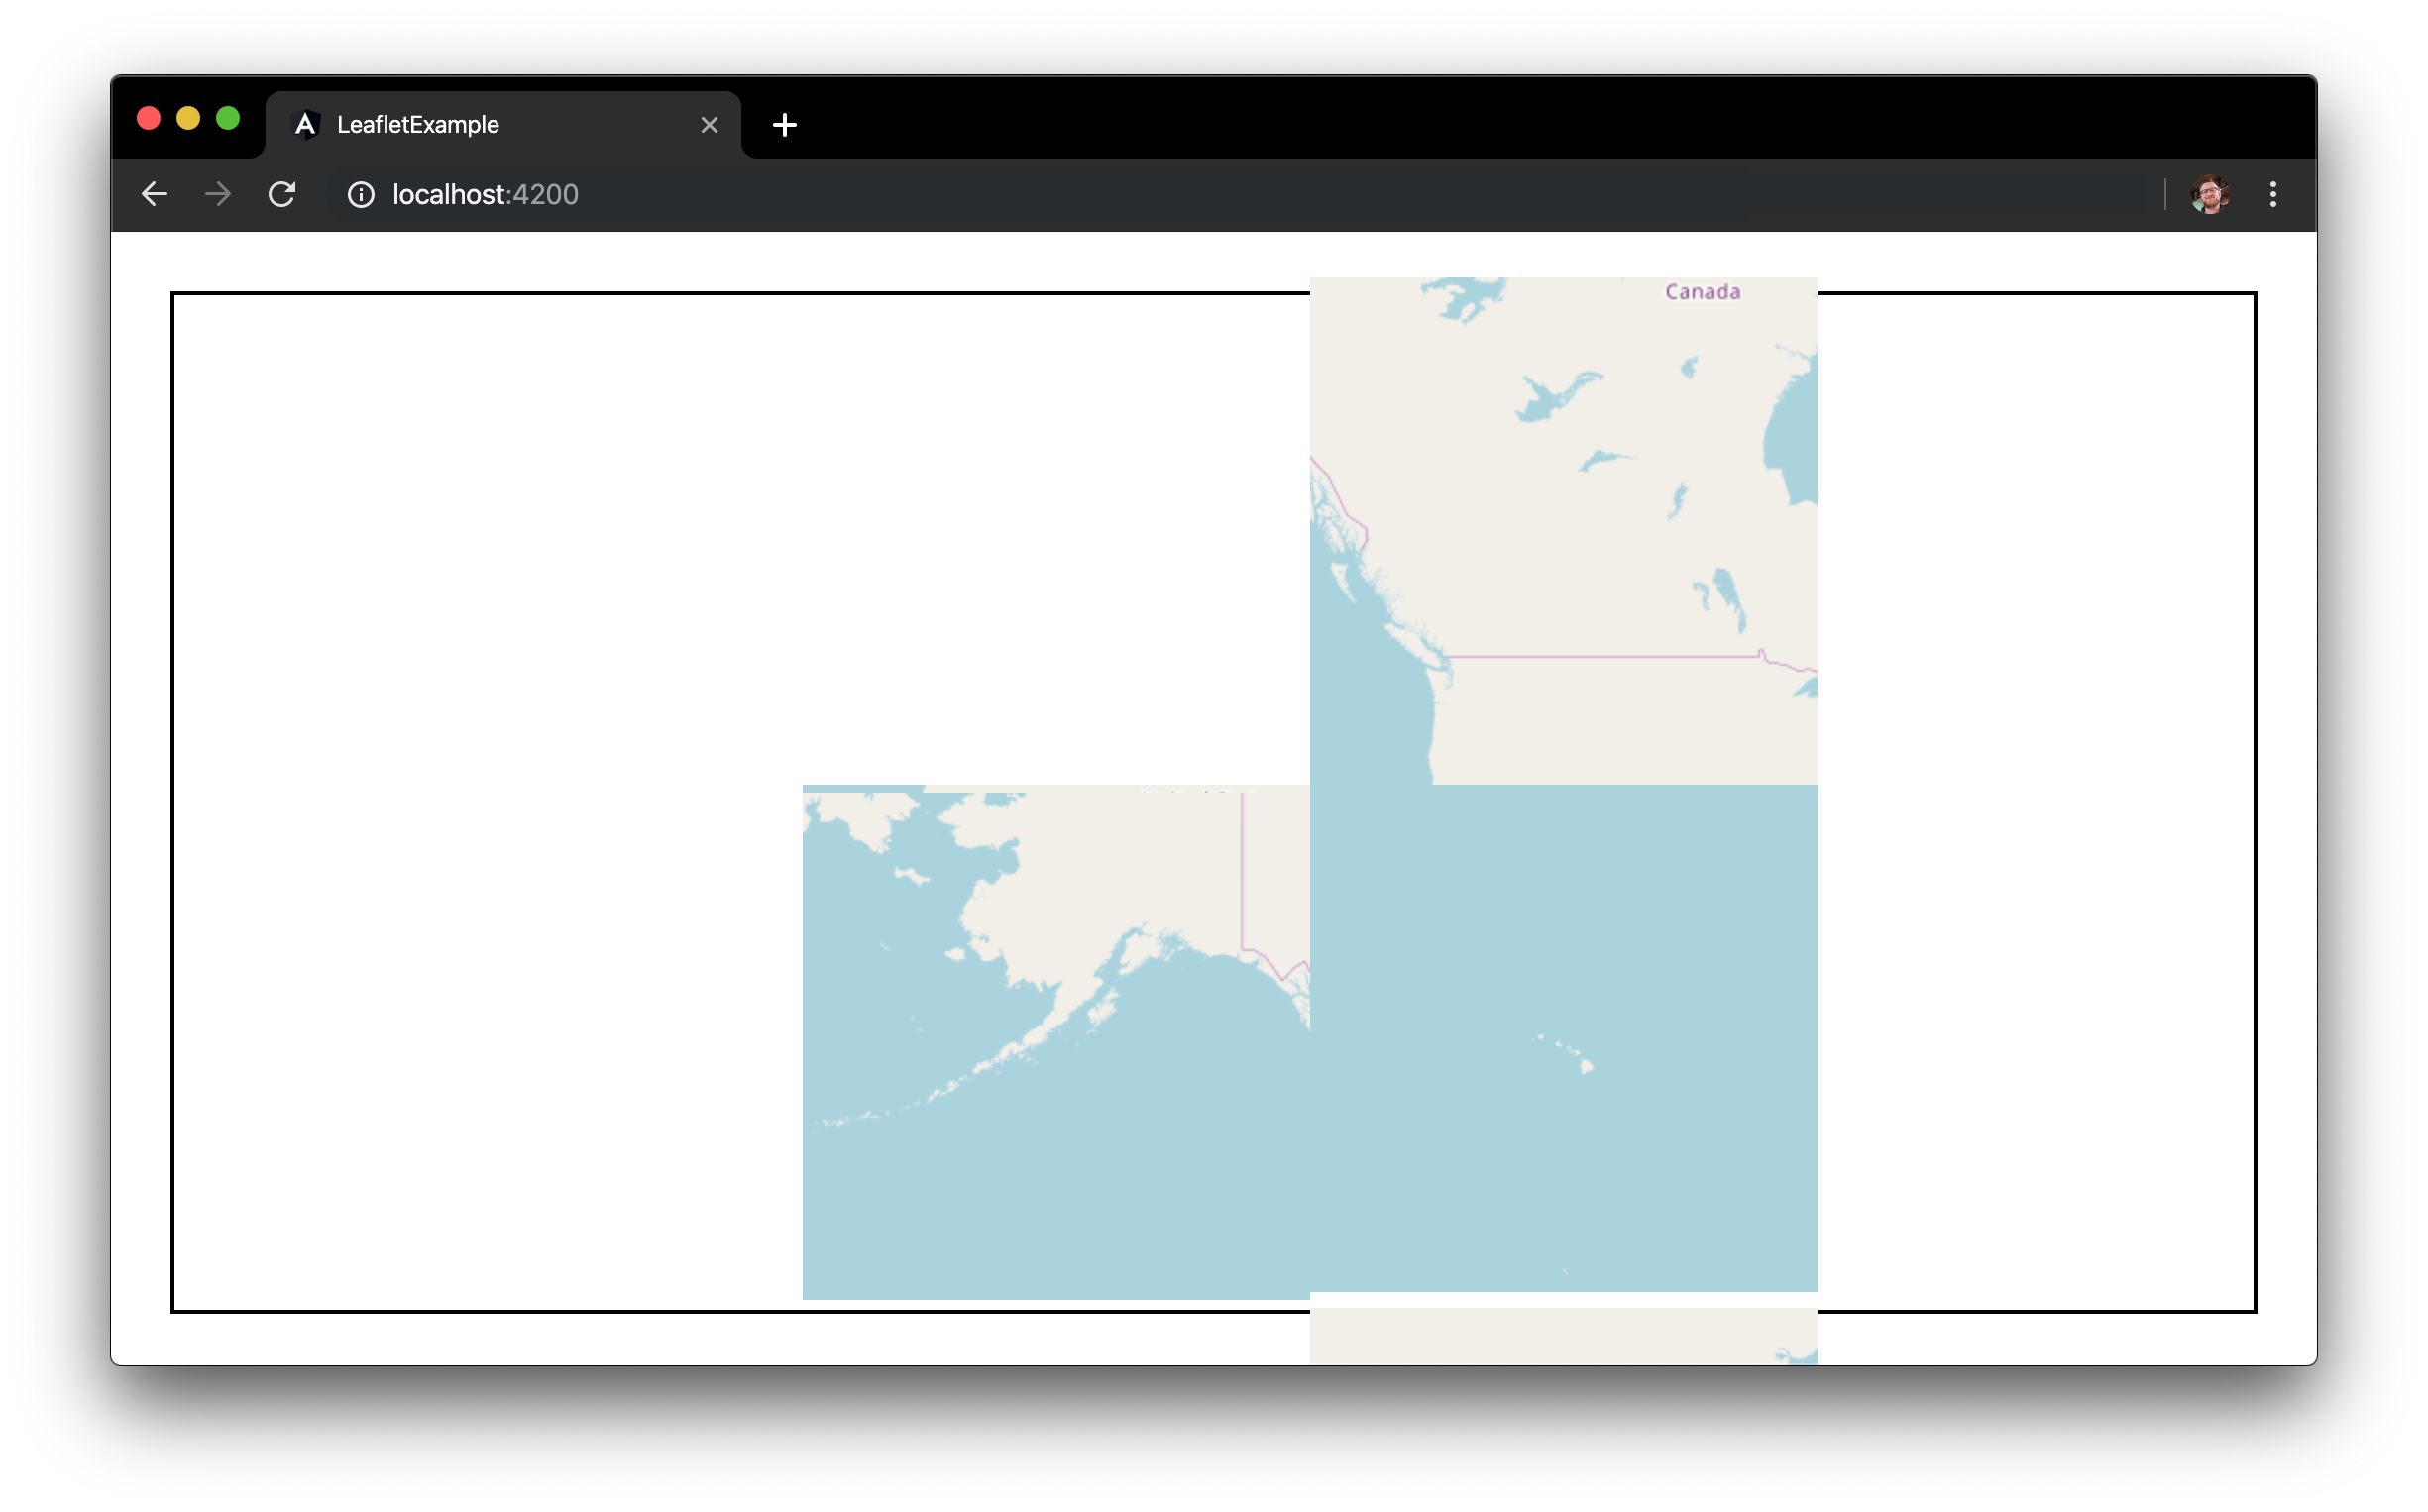
瓷砖正在加载,但似乎没有正确放置。您需要在构建中包含 Leaflet 样式表。
打开angular.json文件并添加leaflet.css:
{
  // ...
  "projects": {
    "angular-leaflet-example": {
      // ...
      "architect": {
        "build": {
          // ...
          "options": {
            // ...
            "styles": [
              "./node_modules/leaflet/dist/leaflet.css",
              "src/styles.css"
            ],
            // ..
          },
          // ...
        },
        // ...
      }
    }},
  "defaultProject": "angular-leaflet-example"
}
如果您当前正在运行npm start,则需要停止该进程并重新启动,以便刷新基本样式表。
最后,在 Web 浏览器 ( localhost:4200) 中打开应用程序:
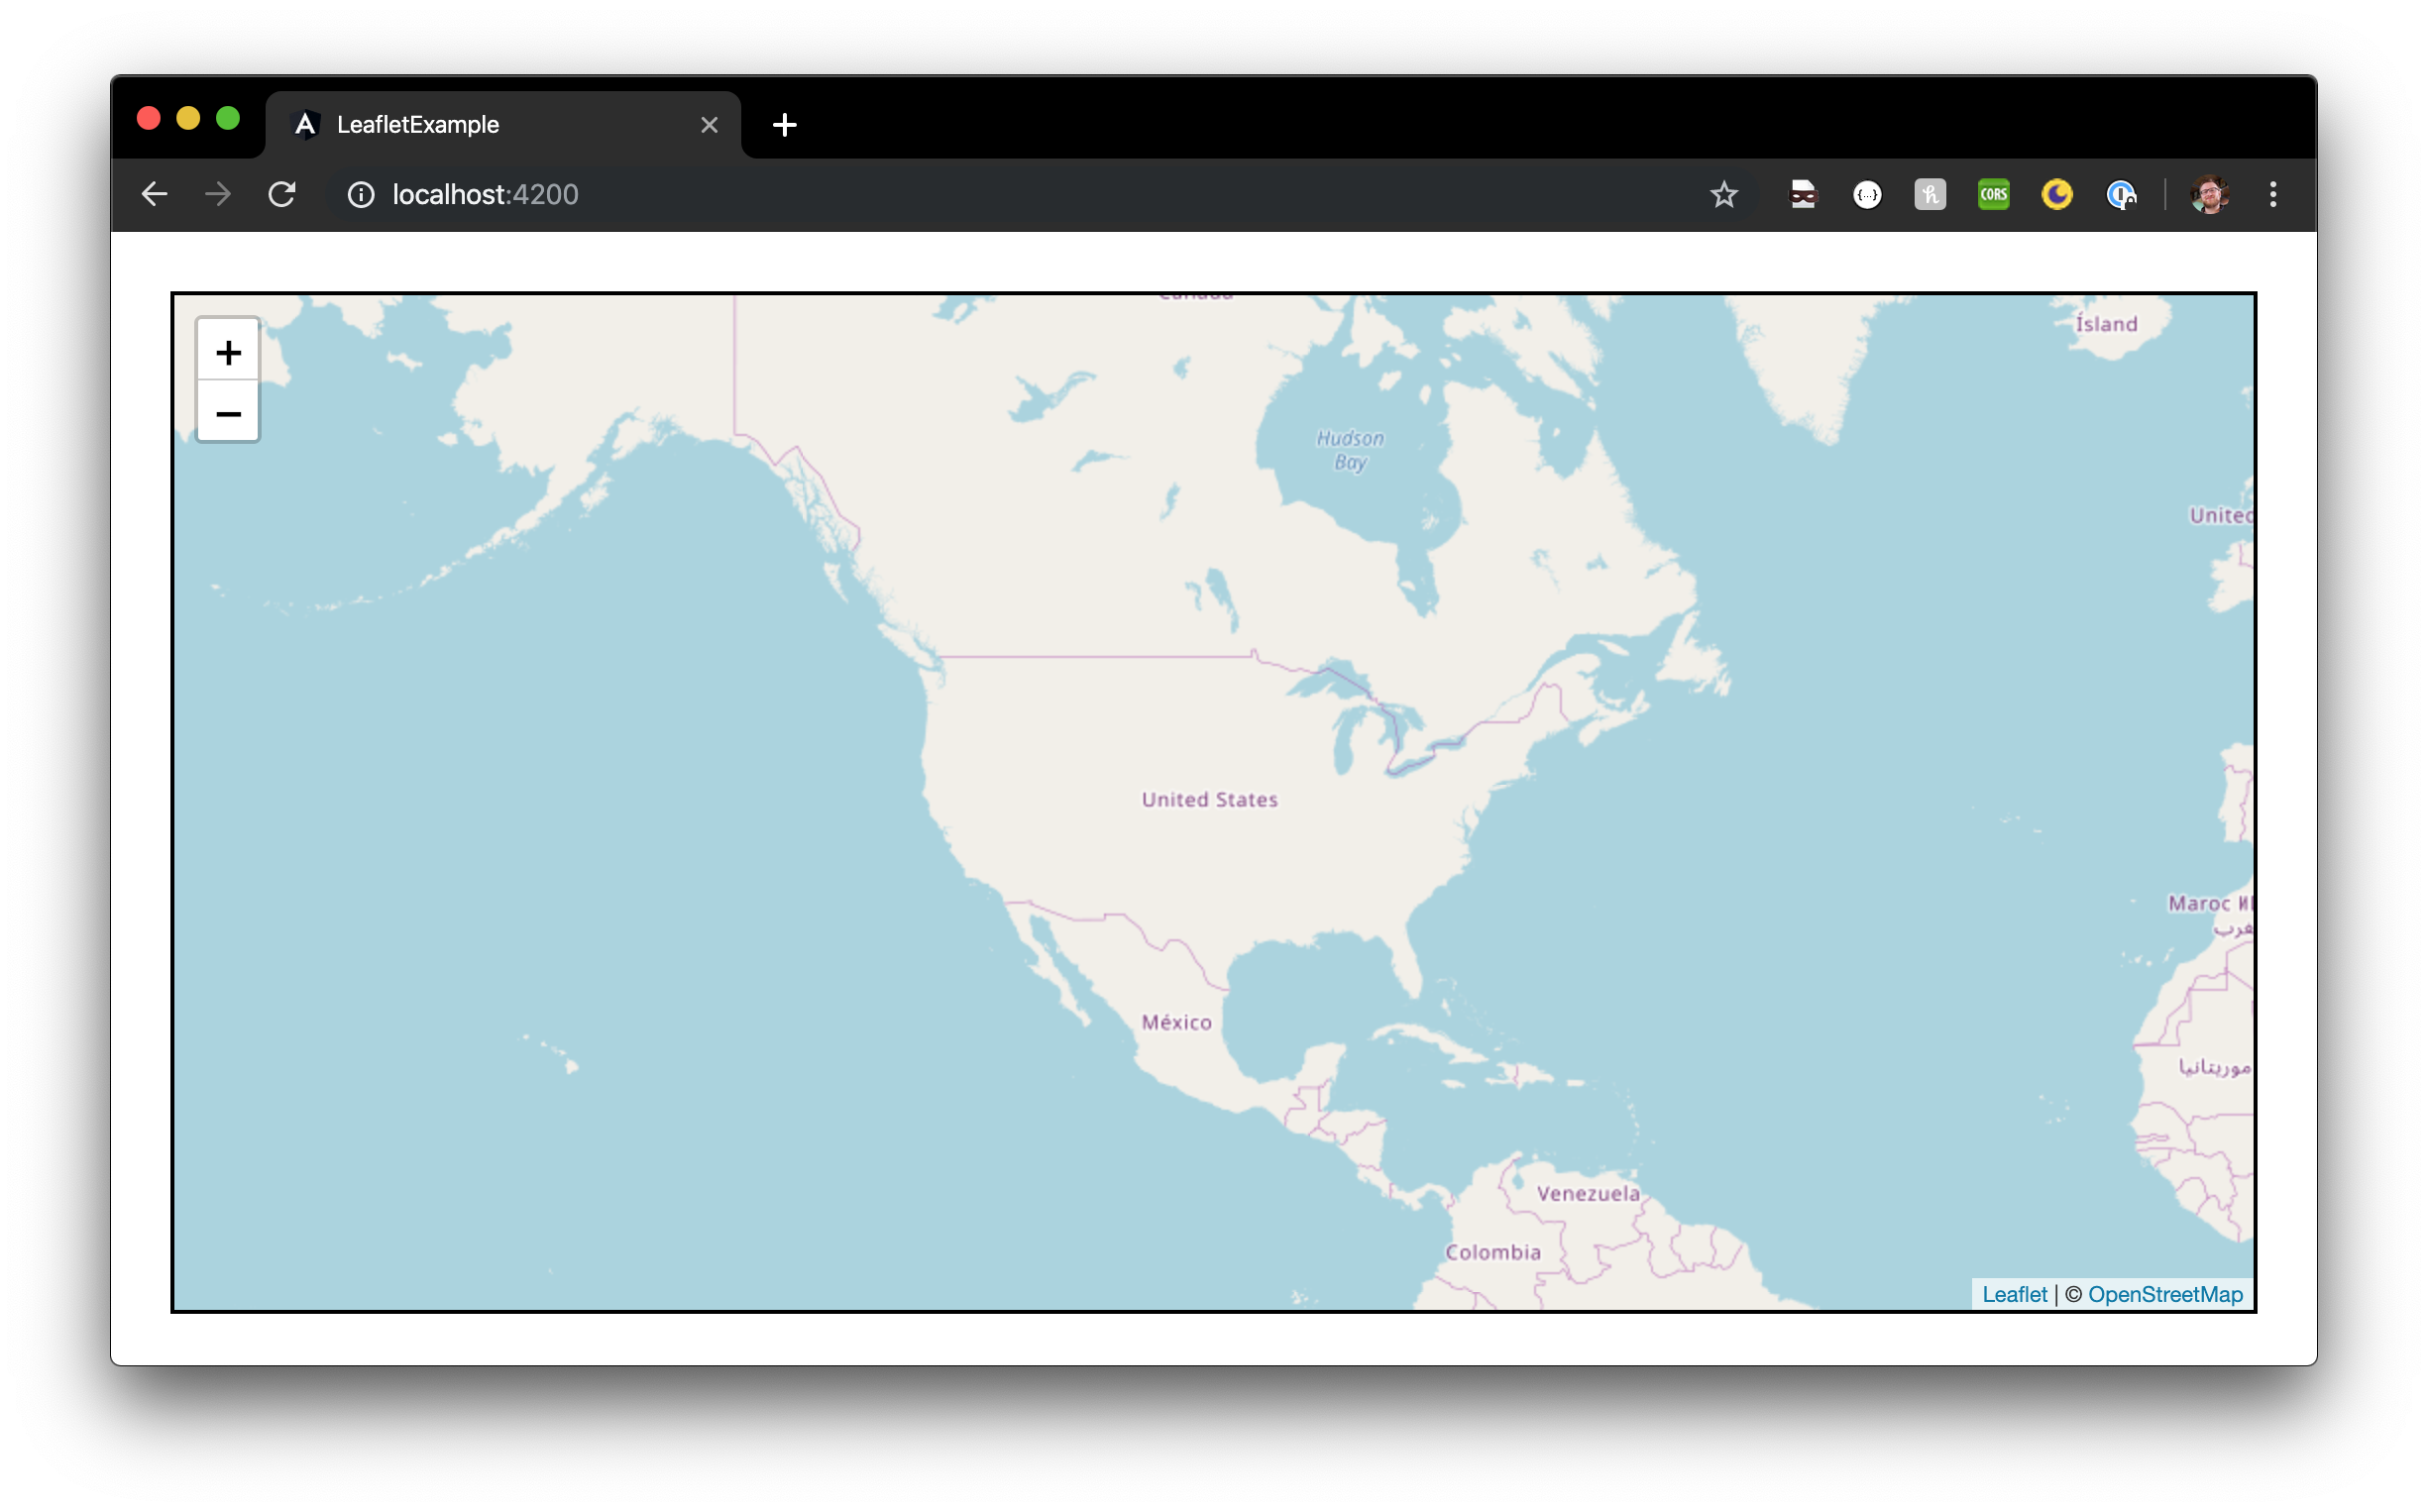
您现在拥有一个支持缩放和拖动的地图。
结论
在本教程中,您学习了如何在 Angular 应用程序中使用 Leaflet。
