WCF – 使用 WCF 服务
WCF – 使用 WCF 服务
WCF 服务允许其他应用程序访问或使用它们。WCF 服务可以通过多种方式使用,具体取决于托管类型。在这里,我们将解释为以下每个流行的托管选项使用 WCF 服务的分步方法 –
- 使用 IIS 5/6 中托管的 WCF 服务
- 使用自托管的 WCF 服务
- 使用 Windows 激活服务中托管的 WCF 服务
- 使用托管在 Windows 服务中的 WCF 服务
使用 IIS 5/6 中托管的 WCF 服务
下面详细讨论使用 IIS 5/6 中承载的 WCF 服务的过程。此外,讨论还包括如何创建代理和控制台应用程序。
步骤 1 – 一旦服务托管在 IIS 中,我们必须在客户端应用程序中使用它。在创建客户端应用程序之前,我们需要为服务创建一个代理。客户端应用程序使用此代理与服务交互。要创建代理,请运行 Visual Studio 2008 命令提示符。使用服务实用程序,我们可以创建代理类及其配置信息。
svcutilhttp://localhost/IISHostedService/Service.svc
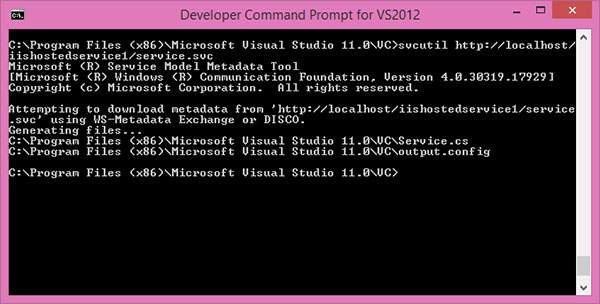
执行此命令后,我们将在默认位置生成两个文件。
-
MyService.cs – WCF 服务的代理类
-
output.config – 有关服务的配置信息
第 2 步– 现在,我们将开始使用 Visual Studio 2008(客户端应用程序)创建控制台应用程序。
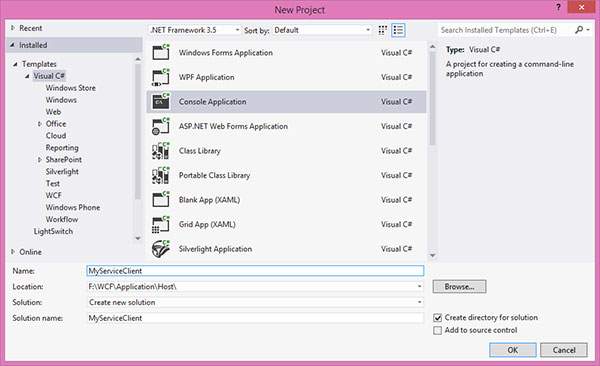
第 3 步– 添加引用“System.ServiceModel”;这是 WCF 的核心 dll。
第 4 步– 创建一个代理类。
using System;
using System.Collections.Generic;
using System.Linq;
using System.Text;

namespace MyServiceClient {
   Class Program {
      Static void Main(string[] args) {
         // Creating Proxy for the MyService
         ServiceClient Client = newServiceClient();
         Console.WriteLine("Client calling the service...");
         Console.WriteLine("Hello Ram");
         Console.Read();
      }
   }
}
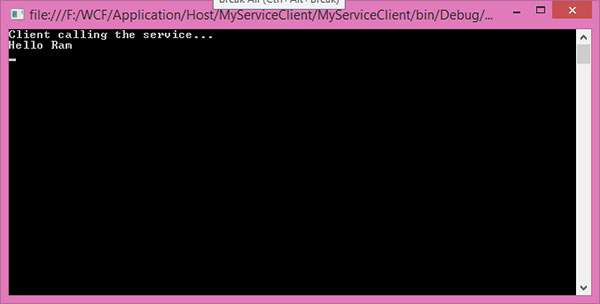
输出显示如下 –
使用自托管 WCF 服务
在这里,将逐步解释使用自托管 WCF 服务的整个过程,并在必要时提供充足的编码和屏幕截图。
第 1 步– 托管服务,现在我们需要为客户端实现代理类。有多种创建代理的方法。
-
使用 SvcUtil.exe,我们可以创建代理类及其带有端点的配置文件。
-
向客户端应用程序添加服务引用。
-
实现 ClientBase<T> 类
在这三种方法中,实现 ClientBase<T> 是最佳实践。如果您使用的是其他两种方法,我们需要在每次对 Service 实现进行任何更改时创建一个代理类。但对于 ClientBase<T> 而言,情况并非如此。它只会在运行时创建代理,因此它会处理所有事情。
为此,创建一个代理类,其中包括 System.ServiceModel 和 MyCalculatorService 的引用。
using System;
using System.Collections.Generic;
using System.Linq;
using System.Text;
using System.ServiceModel;
using MyCalculatorService;

namespace MyCalculatorServiceProxy {
   // WCF create proxy for ISimpleCalculator using ClientBase
   Public class MyCalculatorServiceProxy :
   ClientBase<ISimpleCalculator>,

   ISimpleCalculator {
      Public int Add(int num1, int num2) {
         //Call base to do funtion
         returnbase.Channel.Add(num1, num2);
      }
   }
}
现在,创建一个控制台应用程序,其中包括 System.ServiceModel 和 MyCalculatorServiceProxy 的引用。
using System;
using System.Collections.Generic;
using System.Linq;
using System.Text;
using System.ServiceModel;
using MyCalculatorServiceProxy;

namespace MyCalculatorServiceClient {
   classProgram {
      Static void Main(string[] args) {
         MyCalculatorServiceProxy.MyCalculatorServiceProxy proxy = newMyCalculatorServiceProxy.MyCalculatorServiceProxy();

         Console.WriteLine("Client is running at " + DateTime.Now.ToString());
         Console.WriteLine("Sum of two numbers. 5 + 5 =" + proxy.Add(5,5));
         Console.ReadLine();
      }
   }
}
步骤 2 – 应将端点(与服务相同)信息添加到客户端应用程序的配置文件中。
<?xmlversion = "1.0"encoding = "utf-8" ?>
<configuration>
   <system.serviceModel>
      <client>
         <endpoint address
            ="http://localhost:8090/MyCalculatorServiceProxy/ISimpleCalculator"
            binding = "wsHttpBinding" contract "MyCalculatorServiceProxy.ISimpleCalculator">
            </endpoint>
      </client>
   </system.serviceModel>
</configuration>
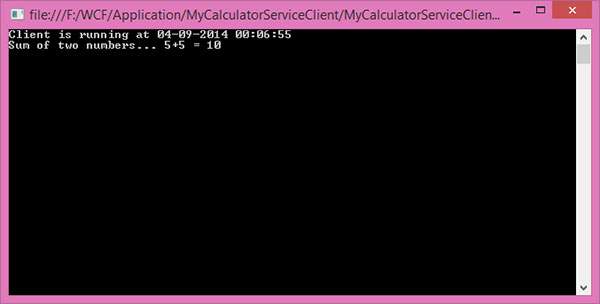
步骤 3 – 在运行客户端应用程序之前,您需要运行该服务。下面显示的是客户端应用程序的输出。
使用 WAS 中托管的 WCF 服务
使用托管在 WAS 中的 WCF 服务是一个简单的过程,只需几个步骤。步骤如下 –
- 将代理类和配置文件添加到客户端应用程序。
- 为 MathServiceClient 创建对象并调用该方法。
using System;
using System.Collections.Generic;
using System.Linq;
using System.Text;

namespaceWASHostedClient {
   classProgram {
      staticvoid Main(string[] args) {
         MathServiceClient client = newMathServiceClient();
         Console.WriteLine("Sum of two number 5,6");
         Console.WriteLine(client.Add(5, 6));
         Console.ReadLine();
      }
   }
}
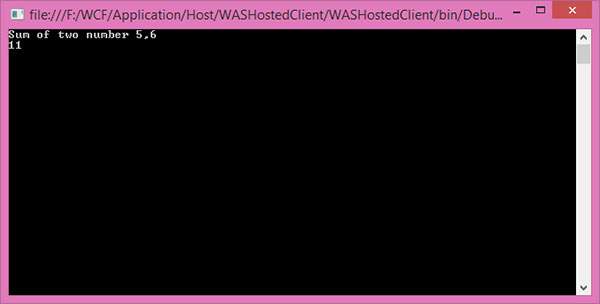
输出如下所示。
使用 Windows 服务中托管的 WCF 服务
下面详细介绍了如何使用托管在 Windows 服务中的 WCF 服务的分步过程,并附有编码和说明。
一旦成功托管,我们就可以为服务创建一个代理类并开始在客户端应用程序中使用。在这里,它显示为 IIS 托管类型消耗。
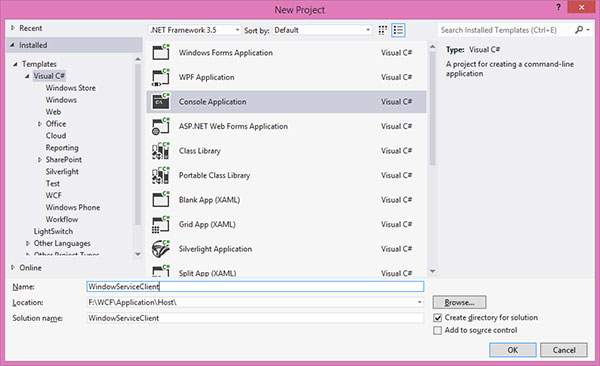
添加ServiceModel的引用。
using System;
using System.Collections.Generic;
using System.Linq;
using System.Text;

namespaceWindowServiceClient {
   classProgram {
      staticvoid Main(string[] args) {
         //Creating Proxy for the MyService
         MyServiceClient client = newMyServiceClient();
         Console.WriteLine("Client calling the service...");
         Console.WriteLine("Sum of two numbers 5,6");
         Console.WriteLine(client.Add(5, 6));

         Console.WriteLine("Subtraction of two numbers 6,5");
         Console.WriteLine(client.Sub(6, 5));

         Console.WriteLine("Multiplication of two numbers 6,5");
         Console.WriteLine(client.Mul(6, 5));

         Console.WriteLine("Division of two numbers 6,3");
         Console.WriteLine(client.Div(6, 3));
         Console.Read();
      }
   }
}
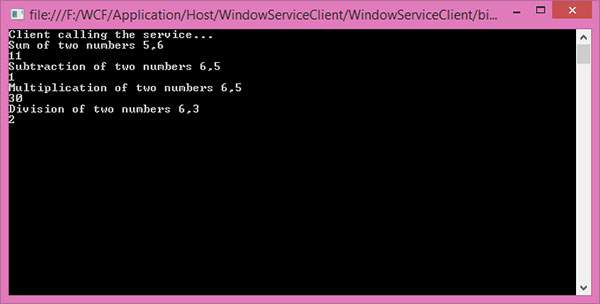
输出显示如下 –
